


英特尔 Edison 物联网开发平台是一系列低成本、可即用型产品、通用计算平台中的首款产品,可帮助降低物联网领域大大小小的参与者—从设计到消费电子和大公司——的市场进入门槛。本文将详细全面地为大家介绍edison镜像刷新的流程与步骤:
首先,根据系统版本下载并安装Intel平板安装工具Phone Flash Tool :
Windows版本:
http://downloadmirror.intel.com/24910/eng/PhoneFlashToolLite_5.2.4.0_wi…
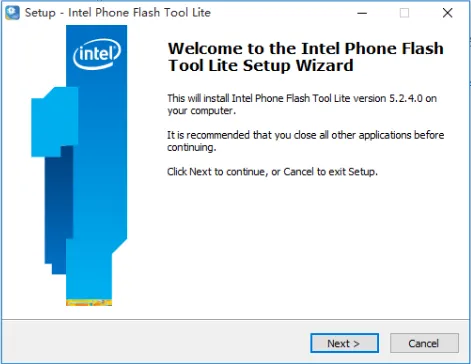
下载后双击安装程序:
<center><img src="http://intel.eetrend.com/files/filefield_paths/tu_pian_1.png" alt=""></center>
进入安装界面,点击next:
<center><img src="http://intel.eetrend.com/files/filefield_paths/tu_pian_2.png" alt=""></center>
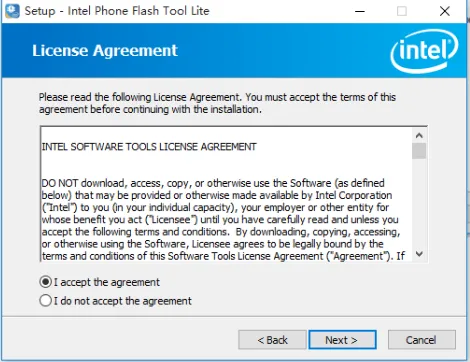
选择”I accept the agreement ”,点击next:
<center><img src="http://intel.eetrend.com/files/filefield_paths/tu_pian_3.png" alt=""></center>
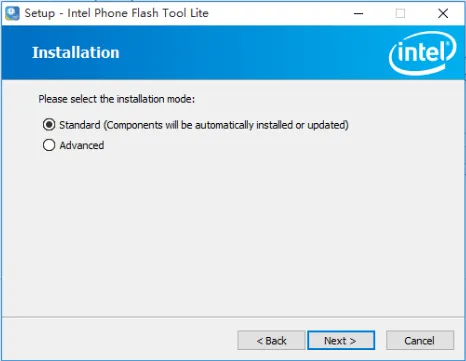
选择Standrad,点击next:
<center><img src="http://intel.eetrend.com/files/filefield_paths/tu_pian_4.png" alt=""></center>
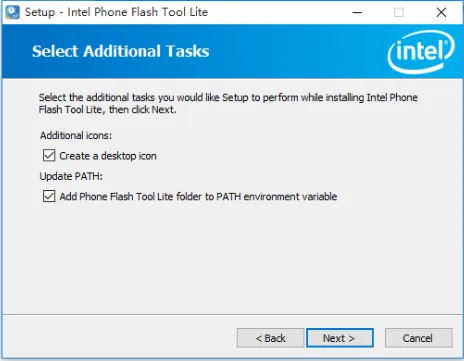
默认设置,之后点击next:
<center><img src="http://intel.eetrend.com/files/filefield_paths/tu_pian_5.png" alt=""></center>
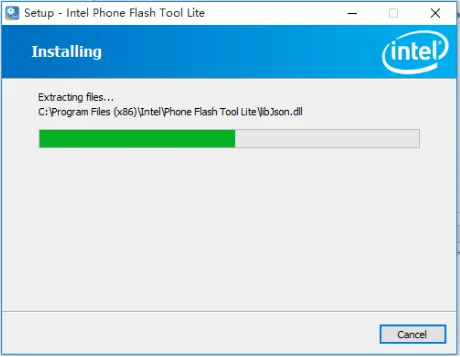
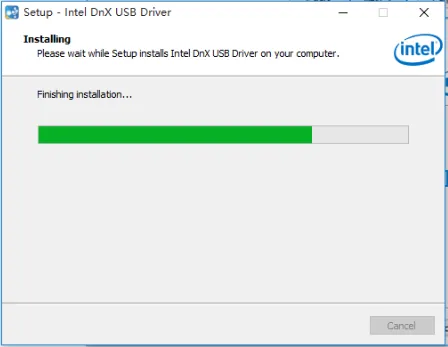
点击Install,之后进行安装:
<center><img src="http://intel.eetrend.com/files/filefield_paths/tu_pian_6.png" alt=""></center>
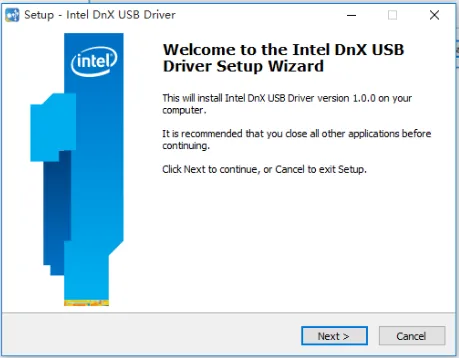
之后进入驱动安装界面点击next:
<center><img src="http://intel.eetrend.com/files/filefield_paths/tu_pian_7.png" alt=""></center>
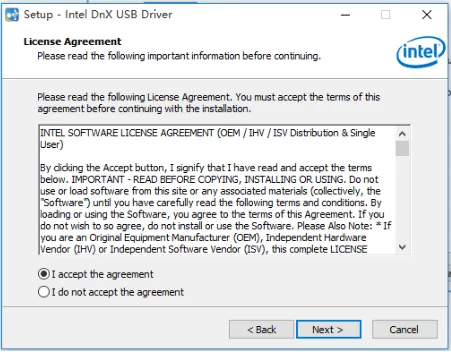
选择”I accept the agreement”,点击next:
<center><img src="http://intel.eetrend.com/files/filefield_paths/tu_pian_8.png" alt=""></center>
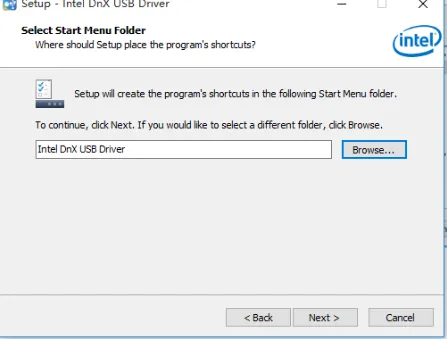
可以设置安装路径,后选择next:
<center><img src="http://intel.eetrend.com/files/filefield_paths/tu_pian_9.png" alt=""></center>
点击Install进行安装:
<center><img src="http://intel.eetrend.com/files/filefield_paths/tu_pian_10.png" alt=""></center>
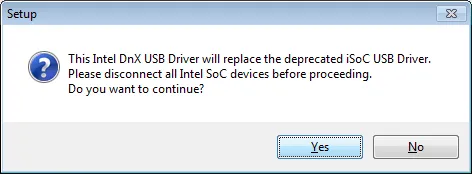
当出现以下提示,点击Yes即可:
<center><img src="http://intel.eetrend.com/files/filefield_paths/tu_pian_11.png" alt=""></center>
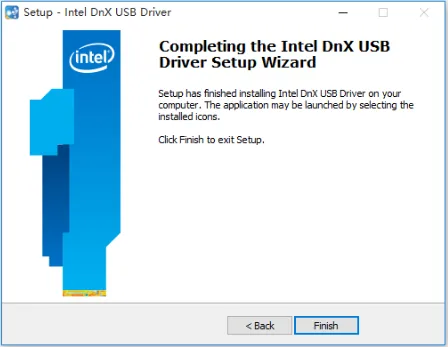
点击Finish完成安装:
<center><img src="http://intel.eetrend.com/files/filefield_paths/tu_pian_12.png" alt=""></center>
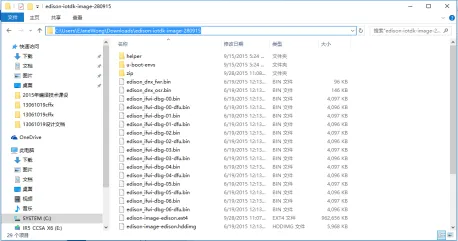
现点击链接http://downloadmirror.intel.com/25384/eng/edison-iotdk-image-280915.zip
下载映像,后解压,进入文件,复制地址(地址中最好不要出现中字符)(方法是:单机地址栏,复制选中的地址):
<center><img src="http://intel.eetrend.com/files/filefield_paths/tu_pian_13.png" alt=""></center>
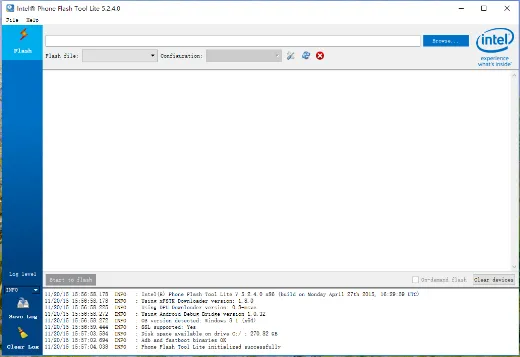
打开程序,界面如下:
<center><img src="http://intel.eetrend.com/files/filefield_paths/tu_pian_14.png" alt=""></center>
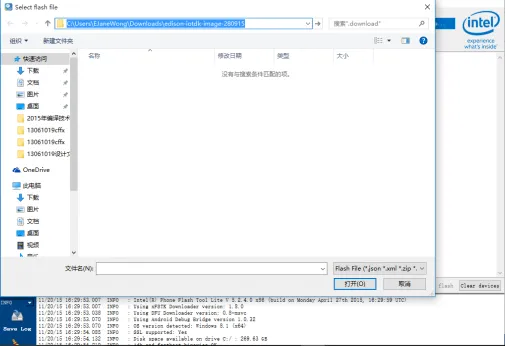
点击右上角的Browse按钮,在弹出的窗口中复制刚才解压后的文件地址:
<center><img src="http://intel.eetrend.com/files/filefield_paths/tu_pian_15.png" alt=""></center>
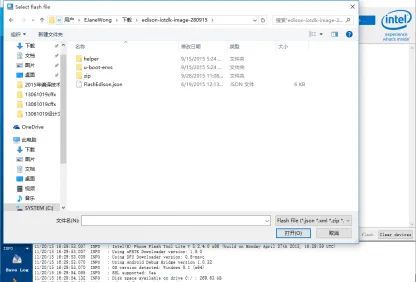
按回车键,可以在文件目录中看到FlashEdison.json文件,选中,点击右下角的“打开”:
<center><img src="http://intel.eetrend.com/files/filefield_paths/tu_pian_16.png" alt=""></center>
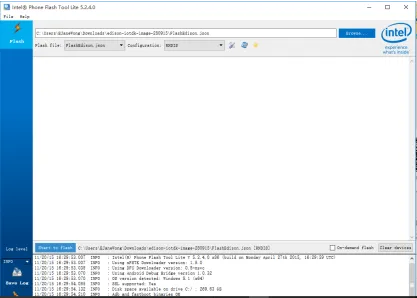
如果是windows系统,则在Configuration下拉栏中选择RNDIS ,如果是Linux或者IOS系统选择CDC 。
<center><img src="http://intel.eetrend.com/files/filefield_paths/tu_pian_17.png" alt=""></center>
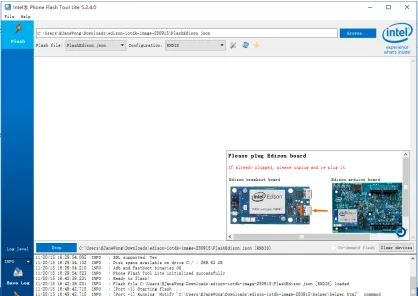
点击左下角的Start:
<center><img src="http://intel.eetrend.com/files/filefield_paths/tu_pian_18.png" alt=""></center>
提示插入Edison:
<center><img src="http://intel.eetrend.com/files/filefield_paths/tu_pian_19.png" alt=""></center>
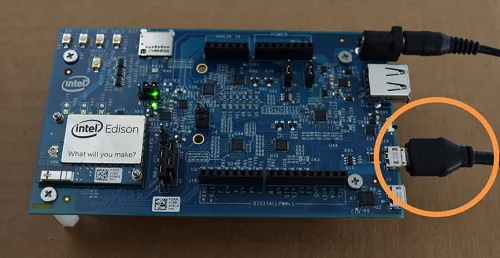
此时按照如下状态连接edison扩展版至电脑:
<center><img src="http://intel.eetrend.com/files/filefield_paths/tu_pian_20.png" alt=""></center>
<center><img src="http://intel.eetrend.com/files/filefield_paths/tu_pian_21.png" alt=""></center>
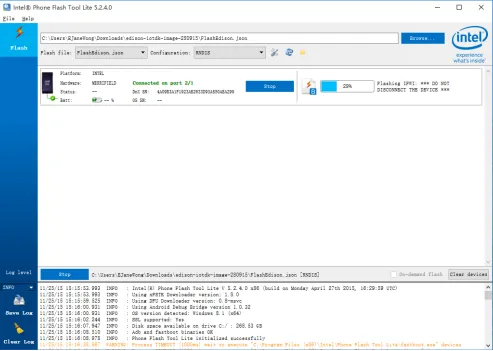
当电脑识别到设备后,会显示如下:
<center><img src="http://intel.eetrend.com/files/filefield_paths/tu_pian_22.png" alt=""></center>
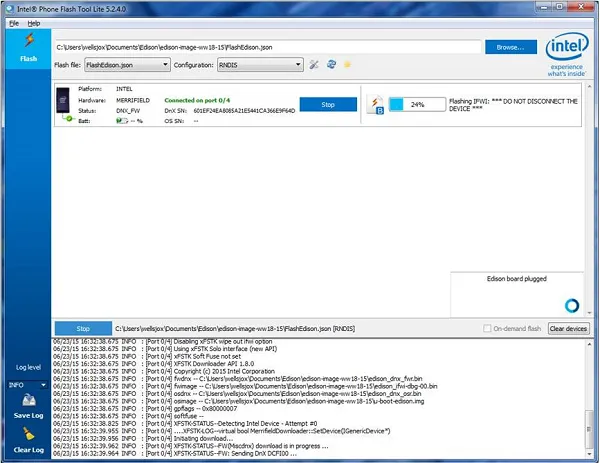
烧写进行时显示如下:
<center><img src="http://intel.eetrend.com/files/filefield_paths/tu_pian_23.png" alt=""></center>
烧写成功即可。
Linux版本的Flash Tool仅支持64位系统。因此,例如Ubuntu系统应该升级至Ubuntu 12.04 LTS(64-bits)以上。
<strong>1、安装软件依赖包:</strong>
对于Ubuntu 12.04LTS在终端输入:
sudo apt-get install gdebi ia32-libs
对于Ubuntu 13.04 64bits及以后的版本输入:
sudo apt-get install gdebi libncurses5:i386 libstdc++6:i386
<strong>2、通过终端或者Ubuntu软件中心获取软件安装包并安装。</strong>
a、通过终端输入:
sudo gdebi (更换相应版本的文件名)
b、通过Ubuntu软件中心:
Ubuntu软件中心会自动安装软件,仅需确认选择合适的.deb安装包然后点击“Install Package”并输入密码。需选择接受IPL许可证。
<strong>Mac OS X</strong>
打开FlashToolLite.dmg并拖动Flash Tool Lite到Application文件夹
文章来源:<a href="http://www.makercollider.com/course/detail?id=39">创客大爆炸